Amiga 1200 adventures on Ebay
24 May 2016 - ~10 Minutes Retro Computing
Here I restore my childhood computer back into its original glory.
I own an Amiga 1200. Well, it doesn’t really look like one. Back in the late 90s I put my 1200 into a tower conversation kit, so I could do things like fit in a full size hard drive (cheaper than the laptop drives that were required to fit inside the 1200 case) and a CD-ROM drive. However now we’re here in The Future, CompactFlash cards of massive capacities can easily fit inside the 1200 case, and trying to use an IDE CD-ROM on the 1200 always seemed to be more trouble than it was worth. The tower case is unnecessary, and now looks big, and dated and ugly. I’d love to put the 1200 back into its neat all-in-once case, but I’d foolishly thrown it out - case, keyboard, and a host of small internal parts. Take away the tower conversion kit and all I have is the mainboard and floppy drive.
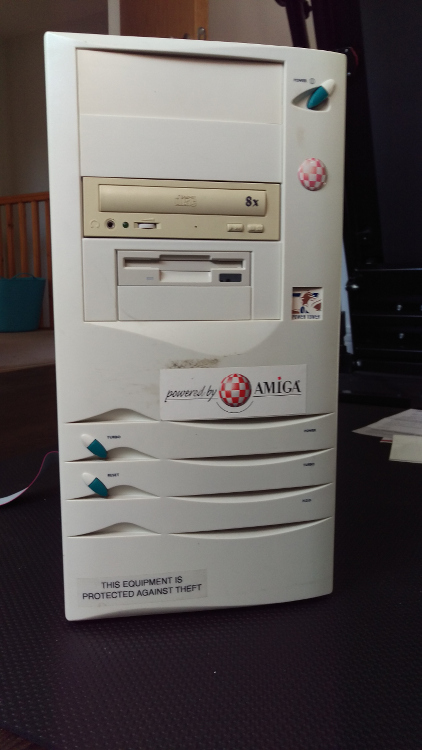
The ugly towerised Amiga 1200
I wanted to obtain an original Amiga 1200 case, keyboard and all these other parts again, so I can restore my Amiga 1200 back to the way it was originally. Wherelse to look for random old bits of stuff than Ebay! I started looking and quickly found somebody selling a faulty Amiga 1200. I could buy this, swap the faulty mainboard for my own, and have a working Amiga 1200 looking the way it was originally designed to.
The case badge design suggested that this Amiga was made in the Escom era. This is a good sign - Commodore was notorious for cost-cutting at every possible opportunity, and the plastic that it used for manufacturing the case and keyboard keycaps was of a low grade that yellowed with age. Most Amiga 1200s today look a horrible shady of browny-yellow. Escom, however, used a better quality of plastic that tended to keep its colour. Sure enough, the case and keyboard in the photograph look bright.
Closer inspection of this auction showed a few oddities. It was claimed it came with Workbench 3.0 disks (normal for a 1200), but the photos didn’t show these disks - instead, there was a set of Workbench 2.05 (Amiga 600) and Workbench 2.04 (Amiga 500+) disks. Also Escom-era Amiga 1200s were fitted with Kickstart 3.1 roms, but this one had been retro-fitted with third-party 3.0 ROMs for some reason.
My guess was that the seller was a general Ebay seller rather than an Amiga specialist, so it is perhaps not surprising that they did not fully understand what they were selling. But this is good enough for what I need it for. Time to hit that “Buy It Now” button.
First impressions
A week later it arrived in a slightly battered cardboard box held together by packing tape. Opening it up revealed an Amiga 1200 wrapped in one layer of bubble wrap, and rest of the box padded with plastic shopping bags. Urgh.
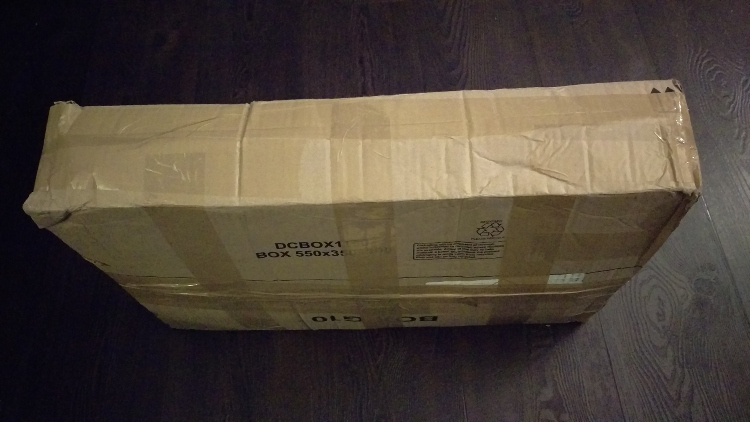
The box
Bizarrely, the seller had stuck a second shipping label directly on to the top of the Amiga. Why someone should do this I have no idea - fair enough to put a second label inside the box in case the box falls apart, but if it did have to be stuck to the Amiga itself, it could have gone on to the bottom of the case!
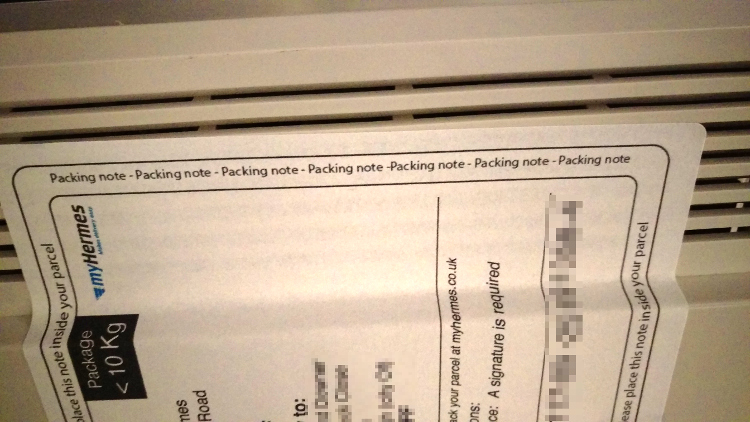
Shipping label
Also inside the box was another pair of Kickstart 3.0 ROMs, and a small pile of disks - the aforementioned Workbench 2.04 and 2.05 disk sets, and a number of game disks (mostly pirated - the one genuine game was a 4-disk set with the first disk missing).
This wasn’t a brilliant start, but not a terrible start either. But I’m not here for the disks and other random pieces. I want the case and keyboard, and the great news is that these looked perfect - no discolouration at all.
Does it work?
I’m not really bothered by the state of the mainboard, but I was curious to see if it was repairable. The seller had reported that it was faulty, showing a green screen on startup (this self-test result means a problem with the onboard RAM). Let’s give it a try and see what happens.
I powered it up and, after a long delay, the Kickstart 3.0 “insert disk” screen appeared. The screen was tinged yellow, and further investigation showed that this affected both the RGB and composite video ports, meaning it was a deeper fault than a simple broken pin on the RGB port. Furthermore, there was no “click” from the floppy drive, and the floppy drive LED was permanently on. So there is indeed something wrong with this Amiga, but it seems that the RAM fault is maybe intermittent.
At this point it’s time to crack open the case and see what’s inside.
Inside the case
I removed all of the screws from the bottom of the case. The screws had mostly been replaced and all but two were mismatched - a previous owned seemed to have closed the case with whatever screws were handy.

Inside the case
Inside the case was a bit grubby. There were stains on the shielding and the bottom case - I suspect that there may have been a liquid spilled on the case at some point. A couple of the smaller internal fixings and parts were missing.
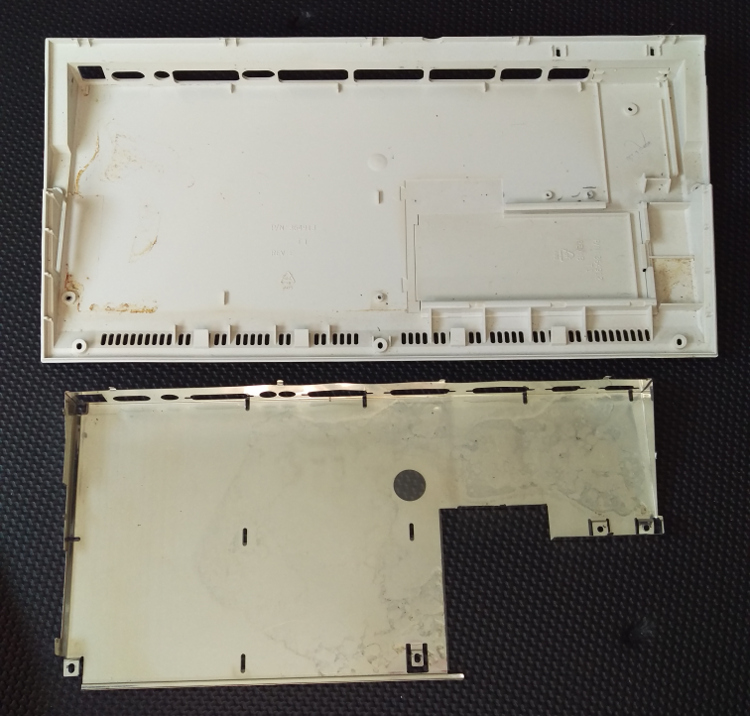
Signs of possible liquid spill
The floppy drive showed signs that it had received a bash - the top metal case of the drive has bent and loose.
There was also an IDE-to-CompactFlash adapter containing a CF card - de rigeur for an Amiga 1200 that has been refurbished, suggesting that an earlier owner had worked on modernising it.
Curiously, there was also a mod made to the rear of the case - part of the top of the bottom case had been neatly filed down, making a thin slit through which a ribbon cable could be fed. This was a very well done mod. Since it was near the internal floppy drive mod, my guess is that the earlier owner removed the internal drive and fitted an external drive emulator such as the Lotharek.
The mainboard was a revision 1D4 mainboard. These were sold by both Commodore and Escom, but by inspecting the bottom of the mainboard, I could see modifications made to the floppy drive header - these are a sure sign of an Escom mainboard. Escom - a PC manufacturer - had ample stocks of IBM PC-compatible floppy drives which it wanted to use on the Amiga. The drives are slightly different, so Escom patched the mainboard to rewire the floppy drive port to work with PC drives. (The modification is not perfect; some copy-protected games failed to work on Escom Amigas for this reason.)
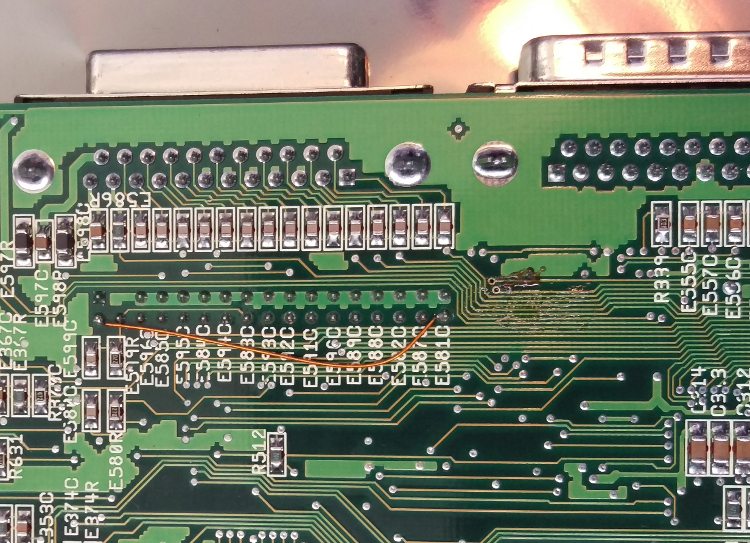
Escom PC drive modification
Speaking of the floppy drive, I wanted to see if it was working or not. When I powered on the Amiga, the floppy drive light was stuck on. This is a common symptom of the cable being plugged in the wrong way round. I flipped round the cable and powered up again - this time the light is off and the drive is clicking while the Amiga is waiting for a disk, so we are a step forward. But when I put in a disk, the “insert disk” screen disappears, the drive makes an unusual buzz, “insert disk” reappears, and this is repeated over and over in a cycle.
Suspecting a faulty drive, I swapped it out for my own. Actually, I didn’t expect mine to work either, because it’s an Amiga drive and therefore not compatible with Escom’s mod for PC drives. What happened when I fitted the drive and powered on with a disk in the drive, was exactly the same as with the first drive. So my conclusion is that the Amiga I received was fitted with a floppy drive that is not compatible with the mainboard - it’s an Amiga drive, not a PC drive.
I also had time for one other check - I can’t boot it from floppy (at least not without getting out a soldering iron and removing Escom’s PC drive mod), nor from the CF (which had been wiped), but I do have another method of booting it: an IDE-to-SD-card adapter, and an SD card with an Amiga partition table and an installation of Workbench. I plugged this in and was able to boot to Workbench. The yellow tinge on the screen was clearly obvious here, and after a few minutes of operation, there was also some graphics corruption visible on the screen. The problems with the on-board memory were clearly still there, even if they weren’t stopping this 1200 from booting any more.
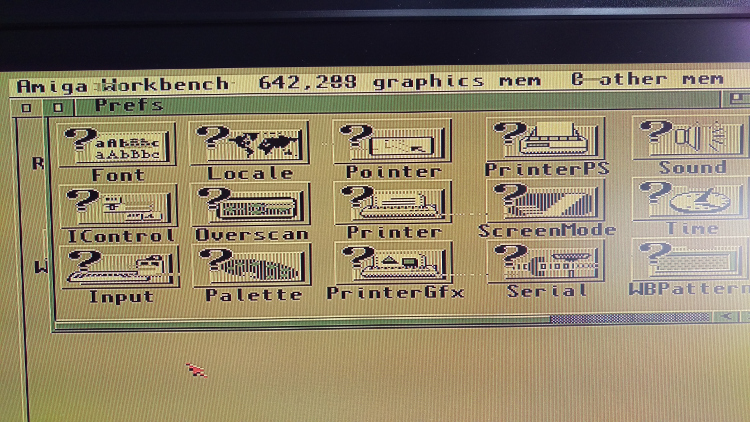
Workbench on the faulty mainboard
So this computer has clearly seen a bit of history. At one stage it probably had an owner who was skilled in modding and upgrading, who replaced the hard drive with a CF card and adapter, and removed the internal floppy drive in favour of a drive emulator that was probably outside the case, with a ribbon cable going through the modified case. At a later date - possibly a few owners later - the floppy drive emulator was gone, the original disks and other items were lost, and a lesser-skilled owner tried to restore it with drive and disks from an incompatible Amiga.
This is all very curious, but not worth investigating further - I already have a known good mainboard and drive which I want to get into this case.
Install my own mainboard
The first task was to fully disassemble the whole kit into parts, and clean it up. The ugly address sticker refused to be peeled off, but all it needed was some water to loosen it up. I submerged the case plastic in water for a while, then used a shower to blast it with water and scrubbed at the remaining stains. The result was a near-perfect case!
I dismantled the ugly tower case to get the mainboard out.
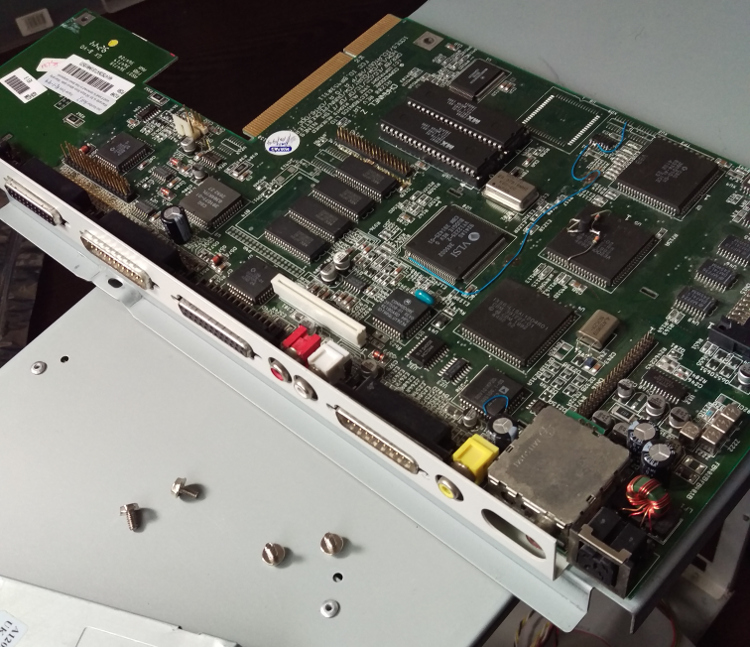
Dismantling ugly towerised Amiga 1200
My own mainboard went into the lower part of the metal shielding and was secured and then placed into the bottom case. I didn’t bother with the top RF shielding. The floppy drive goes in next, then the hard drive caddy and my SD card and IDE adapter. Keyboard goes in next and is attached to the mainboard (and secured using the clip that I took off the faulty mainboard); finally the top case is brought close, the LEDs connected to the mainboard, then the top case fitted and screwed into place.
Result: a complete, working, Amiga 1200 which exceeded my expectations - it looks very close to as good as new!
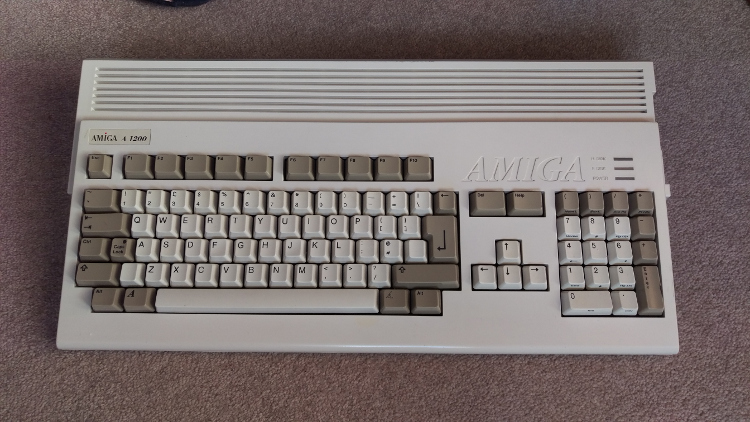
The final result
Conclusion
You never quite know what you are going to get when you buy from Ebay. This Amiga seems to have had a skilled and careful owner in the past, and a lesser-skilled owner in the nearer past. It had a solid foundation combined combined with some unsuccessful (and sometimes bizarre) replacements. It’s impossible to say, but it’s also possible that the problems with the mainboard are a result of mishandling. The case showed damage that could have been the result of spilled liquid, and that could have damaged the mainboard. It’s impossible to say which owner it was who was responsible for that. I am tempted to send the mainboard off to a repair shop experienced with Amigas to see what they make of it, but I also would have no problem with throwing it away.
I have ended up with an Amiga 1200 that looks to most eyes to be as good as new - only a few scratches in the plastic on close inspection give it away. I have replaced almost all of the parts that I foolishly threw away nearly 20 years ago. Fitted with an SD card for a hard drive makes it boot very very fast. Thanks to the skilled modder who made that ribbon cable exit at the back of the case, I have options to make further mods myself, such as a floppy drive emulator, or even to have a go at fitting an CD-ROM drive again!
About the author
Richard Downer is a software engineer turned cloud solutions architect, specialising in AWS, and based in Scotland. Richard's interest in technology extends to retro computing and amateur hardware hacking with Raspberry Pi and FPGA.